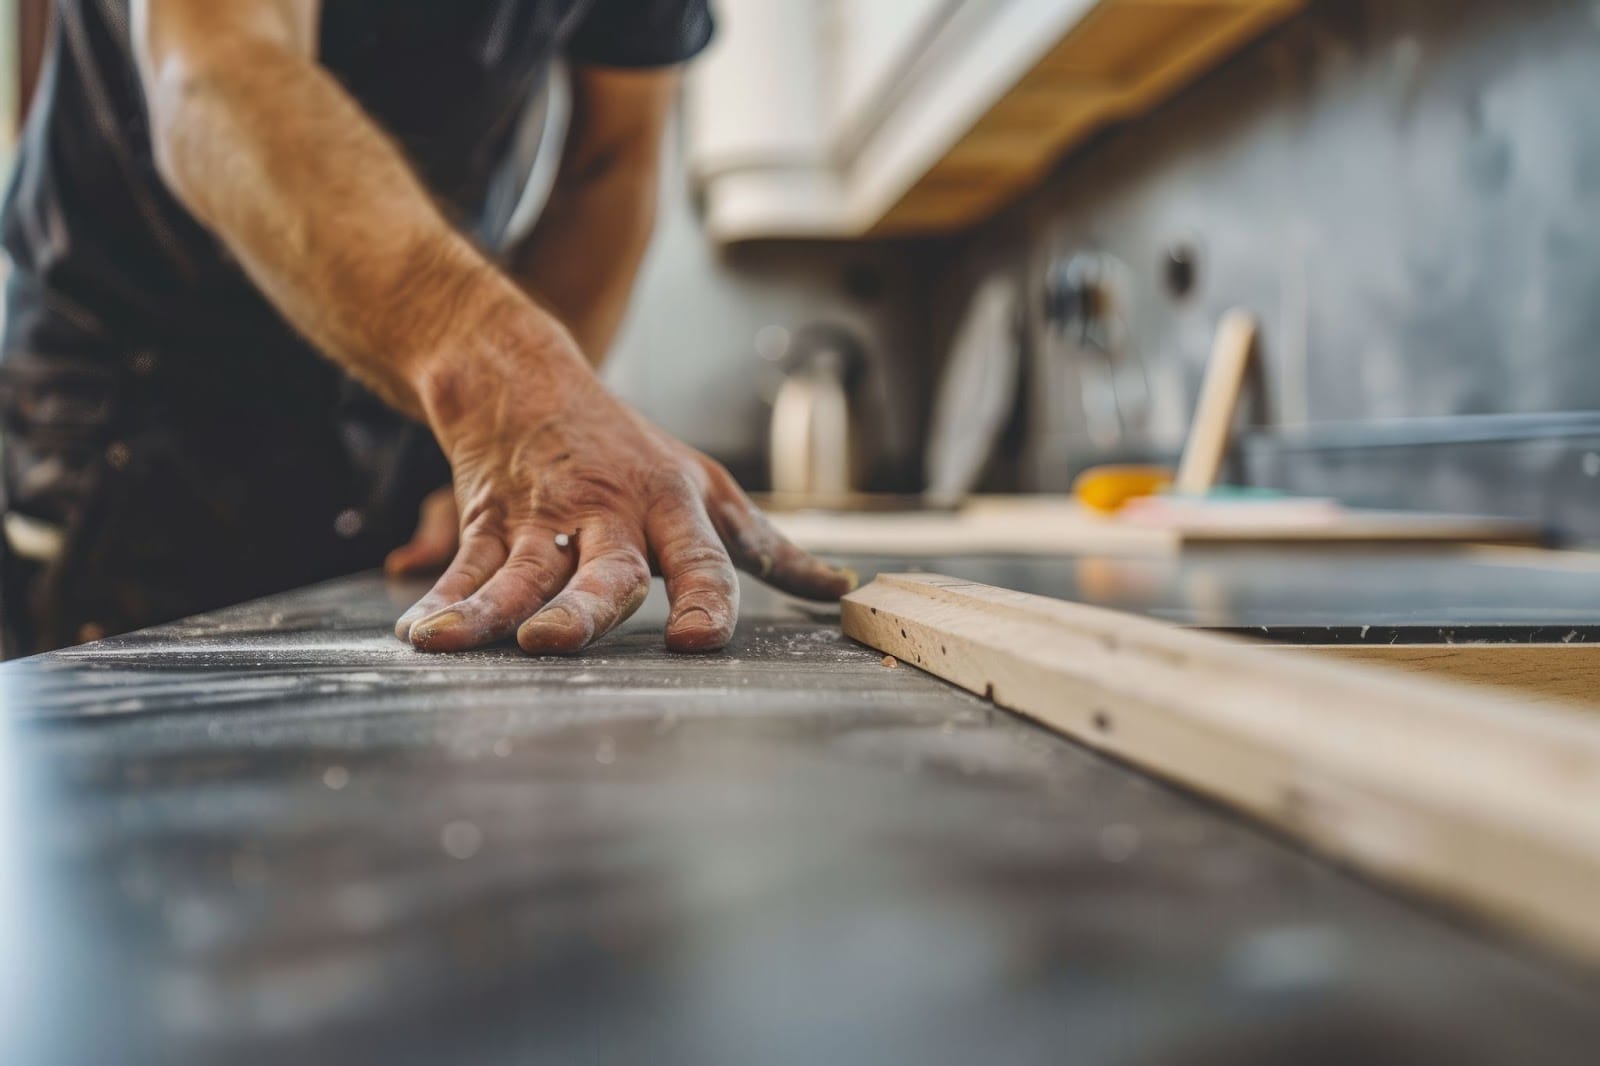
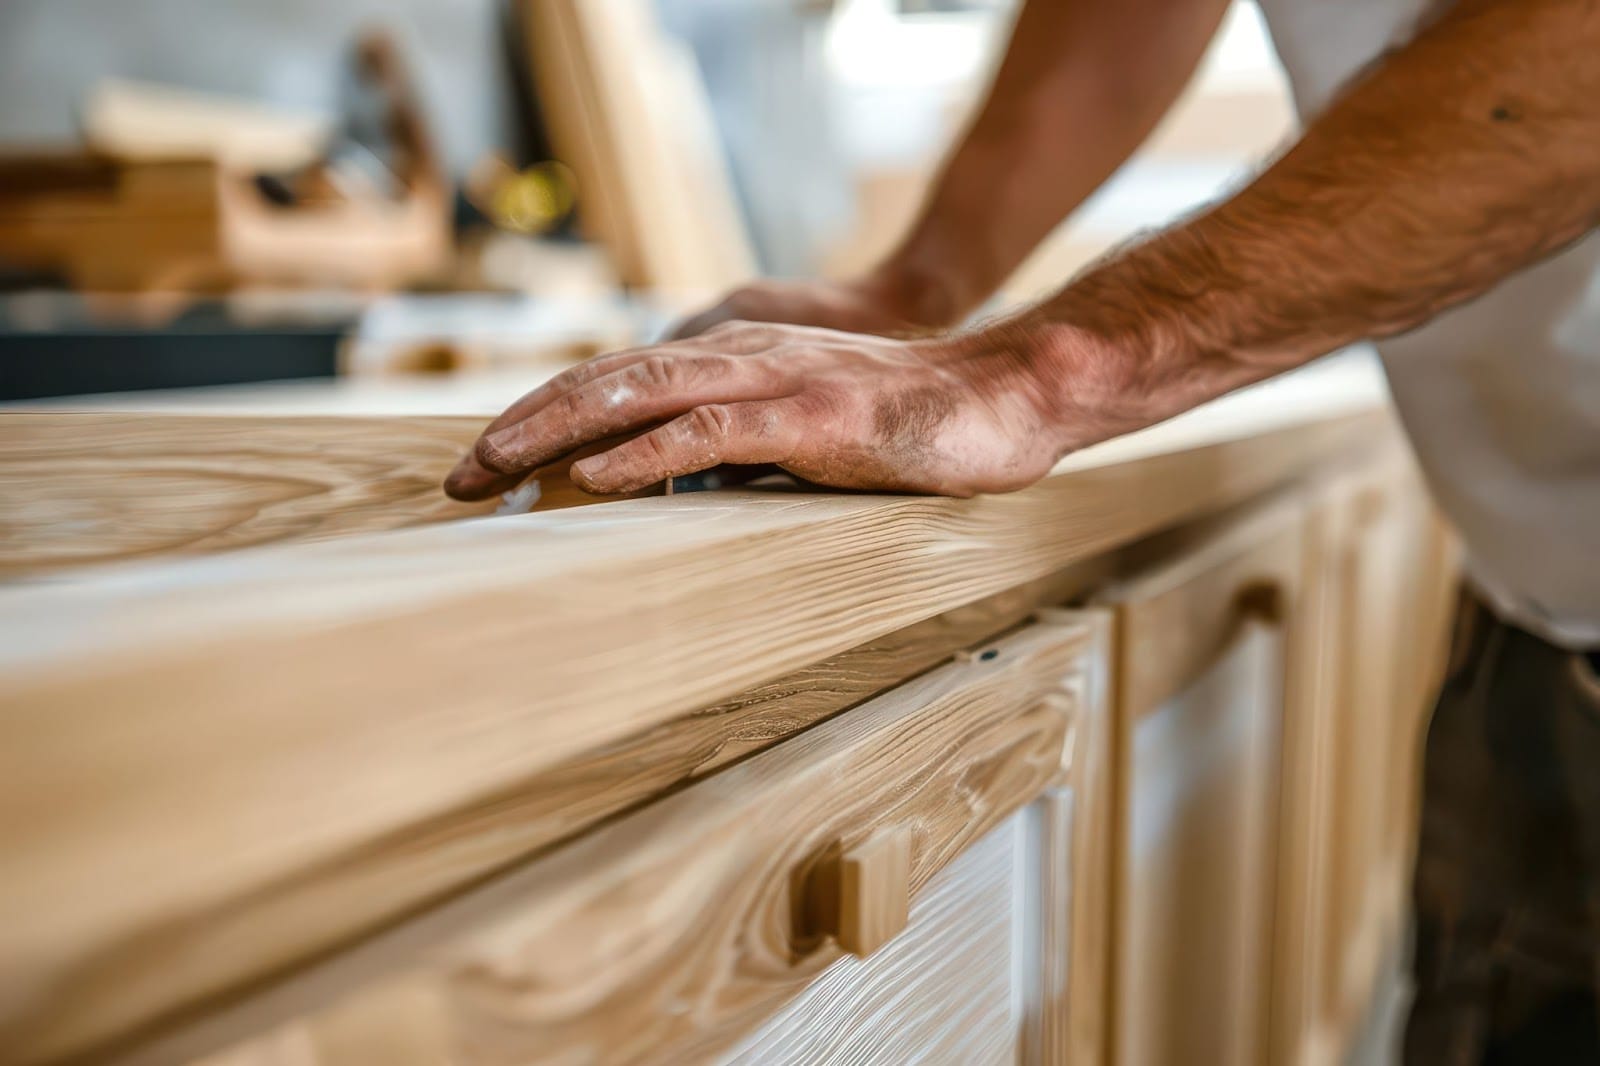
6 Steps to a Successful Countertop Installation
When it comes to remodeling your kitchen, installing countertops will dramatically transform the overall look and functionality of the space. But it’s not only about choosing the right material and design; proper installation is equally important to ensure durability and functionality in the long run.
Whether you’re a DIY enthusiast or planning to hire a professional, there are a few key tips for a successful countertop installation. In this article, we will walk you through the essential steps for installing kitchen countertops and bathroom countertops, helping you avoid potential pitfalls and achieve your dream kitchen with ease.
So, let’s dive in and discover the secrets to a successful countertop installation!
Step 1: Preparation phase
When installing countertops, the preparation phase is key to ensure success.
Choose your material
Begin by choosing the right material for your style and budget. Whether you fancy granite countertops for their robustness, marble countertops for their elegance, or affordable and versatile laminate countertops, select a material that complements your bathroom designs or kitchen design.
Clear your work area
Next, clear your work area. Remove any items from your old countertops and make sure there’s enough room for the professionals to work comfortably. Take accurate measurements, or consider hiring a contractor to do this for you. Measuring correctly is critical for cutting the countertop to size.
Think about the sink
Finally, think about the sink. Will you install a new one or keep the old sink? Decide on the sink type, and have the sink template ready for the installers. If there is an existing tile backsplash or you plan to install a new one, ensure that it is factored into the design and installation process.
Remember, well-prepared groundwork is vital for a smooth countertop installation.
Step 2: Design and planning
When you dream of a perfect kitchen or bathroom, design and planning make that dream a reality. When installing kitchen countertops, choosing the right countertop is key.
You’ve got lots of countertop materials to pick from, like fancy natural stones, shiny granite countertops, classic marble countertops, and tough quartz countertops. What’s the best pick for your space? Here’s what matters:
- Style: Is luxury your vibe, or do you lean toward the simple and modern? Stone countertops add a splash of elegance, while laminate countertops keep things cool and economical.
- Color: What shade goes with your room? Do you match the kitchen design or stand out?
- Size: Measure the space where the countertop will live. That means every inch!
- Shape: Got corners or curves? Think about how your countertop should flow in your space.
Designing your space is all about blending beauty with brains. So, plan ahead!
Once you’ve got the plan, keep it safe. It guides the process of installing countertops. Show it to the pros, and they’ll cut the countertop to size.
Step 3: Installation process
The installation process for countertops is crucial if you want your kitchen or bathroom to look fabulous. Here are the simple steps to ensure a smooth installation:
- Choose your countertop: Whether you want granite, quartz, or marble countertops, pick a material that fits your taste and budget.
- Measure carefully: Before cutting anything, measure your space to fit the countertop perfectly.
- Create templates: Use cardboard to make counter templates. This helps in exact fitting, especially around sinks and appliances.
- Prepare the area: Clear your space. Make sure the base cabinets are level and strong enough to hold your new stone countertops.
- Install the undermount sink: If you have one, fix the sink beneath the countertop before installing it.
- Place the countertop: With help, lift and lower the countertop onto the cabinets. Align it correctly.
- Seal and join: Use sealants for natural stones and join seams if needed.
- Add backsplash: A tile backsplash adds style and protection to walls.
- Finishing touches: Apply grout lines neatly and clean any excess materials.
Follow these tips, and you’ll proudly have a perfect countertop installation in your kitchen or bathroom!
Step 4: Post-installation
After your new countertops are installed, follow these post-installation tips to ensure they remain in perfect condition.
Start by inspecting the work closely. Examine the countertop for any gaps, misalignments, or uneven areas, particularly at the seams, which should be smooth and barely noticeable.
If you’ve opted for natural stone countertops like granite or marble, you need to apply a sealer immediately. This will help prevent stains and extend the life of your surfaces.
For daily maintenance, clean your countertops with a soft cloth and a cleaner that’s suitable for the material you’ve chosen. To protect your surfaces, especially if they are made of natural stone or laminate, avoid placing hot items directly on them.
Also, be diligent about keeping the area around the sink dry to ward off water damage or mold growth.
Finally, avoid placing heavy weight on your countertops. Despite their strength, excessive weight will lead to cracks and other damage. By adhering to these guidelines, you’ll help ensure your new countertops stay beautiful and functional for years to come.
Remember, treating your beautiful new countertops with love and care will keep them looking luxurious and lasting for years to come.
Step 5: Maintenance and care
When you have a beautiful new countertop installed in your kitchen or bathroom, you want it to stay looking great for years to come. That’s why maintenance and care are key. No matter what material your countertop is made of, each type needs special attention.
Here’s a quick guide to keeping your countertops in top shape:
- Wipe up spills right away, especially on natural stone countertops, since these can stain.
- Use a soft cloth or sponge to clean the surface. Harsh scrubbers will scratch some materials.
- Always use coasters under glasses and hot pads under pans to protect the finish.
- Avoid harsh chemicals that can damage the sealant on stone countertops.
- Cutting directly on the countertop can cause scratches, especially in softer materials like marble. Use a cutting board.
For regular cleaning, warm water and mild dish soap are often all you need. Special cleaners are available for different countertop materials if you want extra care.
Taking the time for proper maintenance and care keeps your countertops looking as splendid as the day they were installed and ensures you can enjoy their luxury, beauty, and function long into the future.
Step 6: Common issues and troubleshooting tips
Even with the best installation, countertops can face common issues from everyday use or environmental factors. Understanding how to address these problems helps maintain the beauty and functionality of your countertops for years to come. Here are some solutions to typical challenges:
Stain removal
Different countertop materials are susceptible to various types of stains. For instance, natural stones like granite and marble absorb stains from liquids like oil, wine, and coffee if not properly sealed.
To remove these stains, you’ll need to identify the type of stain and use a cleaner specific to that substance and your countertop material. If the stain is deep-set, apply a poultice paste, cover it with plastic wrap, and let it sit overnight. Wipe clean the next day and reseal the area if necessary.
Dealing with chips and scratches
Chips and scratches detract from the beauty of your countertops. For minor scratches, use a color-matching pen or a paste made from baking soda and water. For deeper chips and scratches, a professional repair might be necessary. They can fill the area with a matching resin or epoxy mixture.
Fixing seams
Visible or separating seams can be an eyesore. If seams become noticeable or start to separate, it may be due to settling or poor initial installation. Contact a professional to assess whether the seam can be filled with epoxy that matches the color and pattern of your countertop.
Regularly check seams for signs of wear and address issues promptly to prevent further damage.
Mitigating heat damage
Countertops can suffer from discoloration or cracking due to heat exposure. Always use trivets or heat pads when placing hot items directly on the surface, regardless of material. If heat damage occurs, some surfaces, like granite, may need professional polishing or, in severe cases, replacement of the affected area.
Loose countertops
Countertops may become loose over time, especially if the house settles or the adhesive degrades. Inspect the brackets or adhesive areas periodically. If loosening occurs, a professional may need to reapply the adhesive or tighten the brackets.
Maintaining sealant
Sealants are crucial for protecting porous countertop materials from stains and damage. Seal natural stone countertops annually or as recommended by the manufacturer. Look for signs of sealant failure, like water no longer beading on the surface. Reapply sealant promptly to protect the integrity of the stone.
Countertop installation with Rock Tops Surfaces
Ready to enjoy the beauty and durability of expertly installed countertops? Trust Rock Tops Surfaces for installing your bathroom or kitchen countertops (or both!).
With our skilled team, top-quality materials, and commitment to excellence, we ensure a seamless process for installing kitchen countertops from start to finish. Don’t dream about your perfect countertops; let Rock Tops Surfaces make it a reality.
Request a quote today to take the first step toward transforming your space with stunning, long-lasting countertops.


